Watch the magic of nature unfold right at home! Hatching butterflies is an unforgettable STEM adventure for kids—and it’s easier than you think. With an affordable butterfly hatching kit, you and your little explorers can witness caterpillars transform into beautiful painted lady butterflies in just a few weeks!

This spring, our oldest grandson announced that he wanted to see a butterfly hatch out of its cocoon. The engineer and I spent quite a bit of time tromping around our farm trying to find such a cocoon but to no avail. After a bit of digital sleuthing we found a great butterfly hatching kit.
Our grandson was thrilled and we were relieved! The kit was very affordable, the instructions were clear and all five caterpillars hatched into beautiful painted lady butterflies! I’ll bet you can enjoy this same experience with your kiddos!
How to Hatch a Butterfly!
The process of hatching our very own butterflies took about two weeks from the time the kit arrived until the butterflies hatched. I think the engineer and I enjoyed the process as much as our grandson did!

What you need
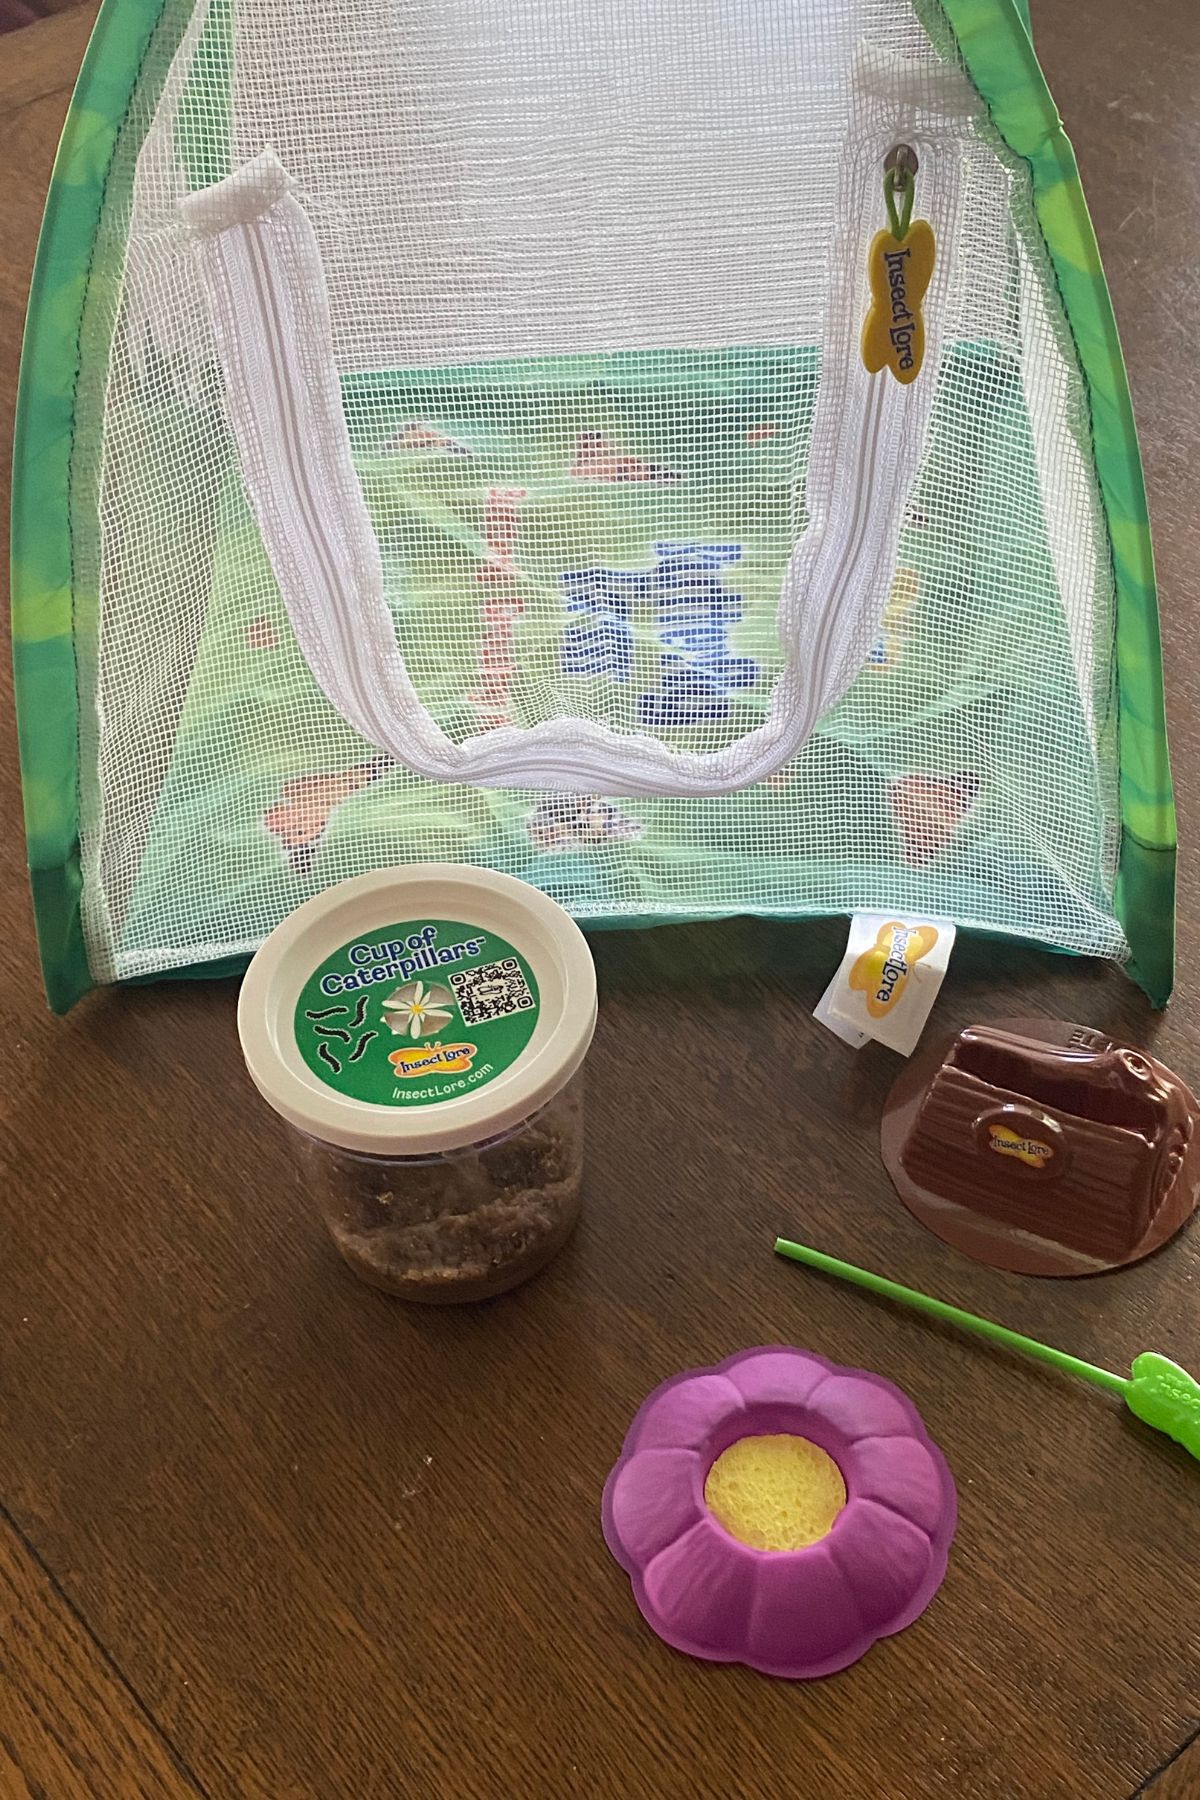
The kit we used is provided by Insect Lore. The company has been in business for over fifty years. They have the process of watching caterpillars turn into butterflies down to a fine science! The caterpillar cup even includes all the food the little critters need to grow and spin their cocoons.
The kit comes complete with a butterfly habitat, a butterfly feeder and a cup of five live caterpillars. You and your kiddos get to watch the wonder of nature without any hassle!

What to expect
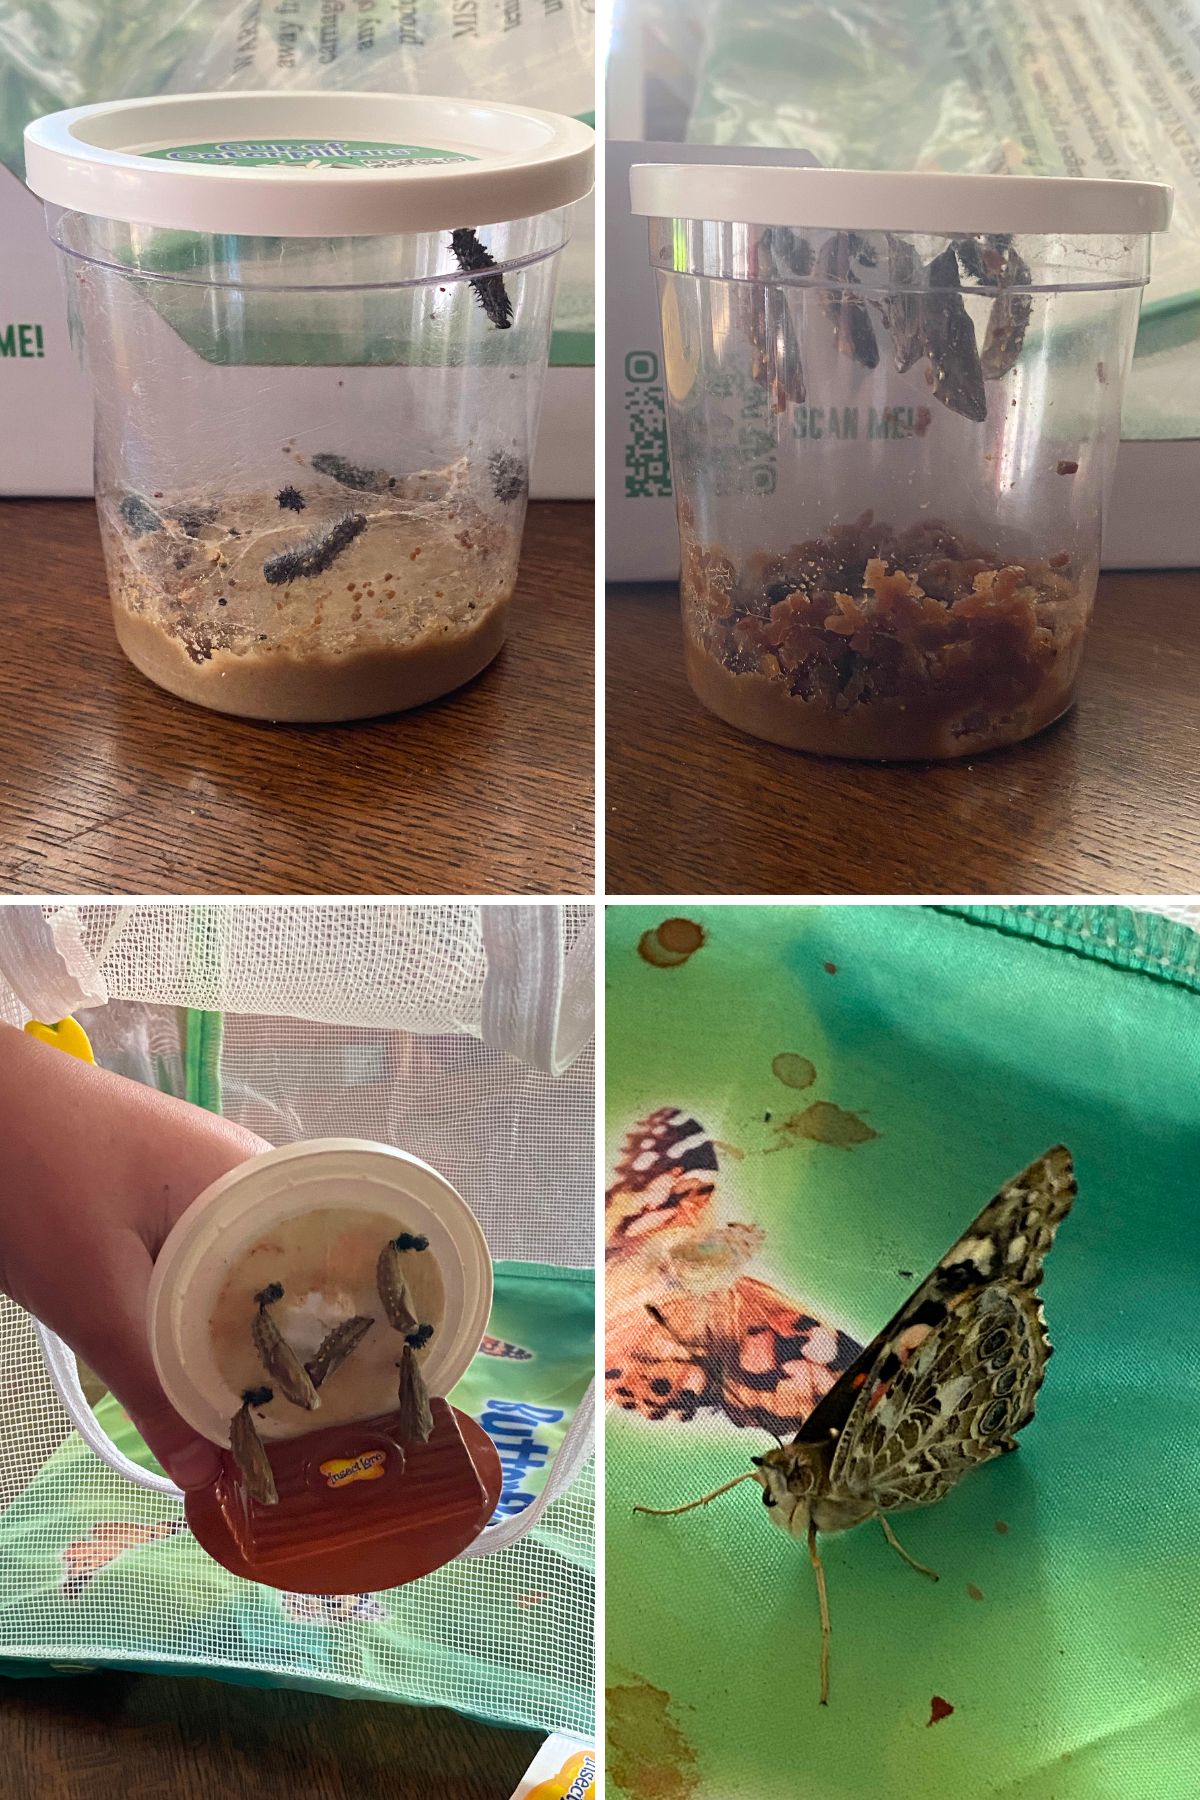
We watched the caterpillars crawl around in the cup each day. They grew very quickly and in less than a week were spinning their cocoons.
We followed the instructions that told us to wait for three days for the cocoons to dry and become stable. The we moved the lid with the cocoons into the habitat on the included stand.
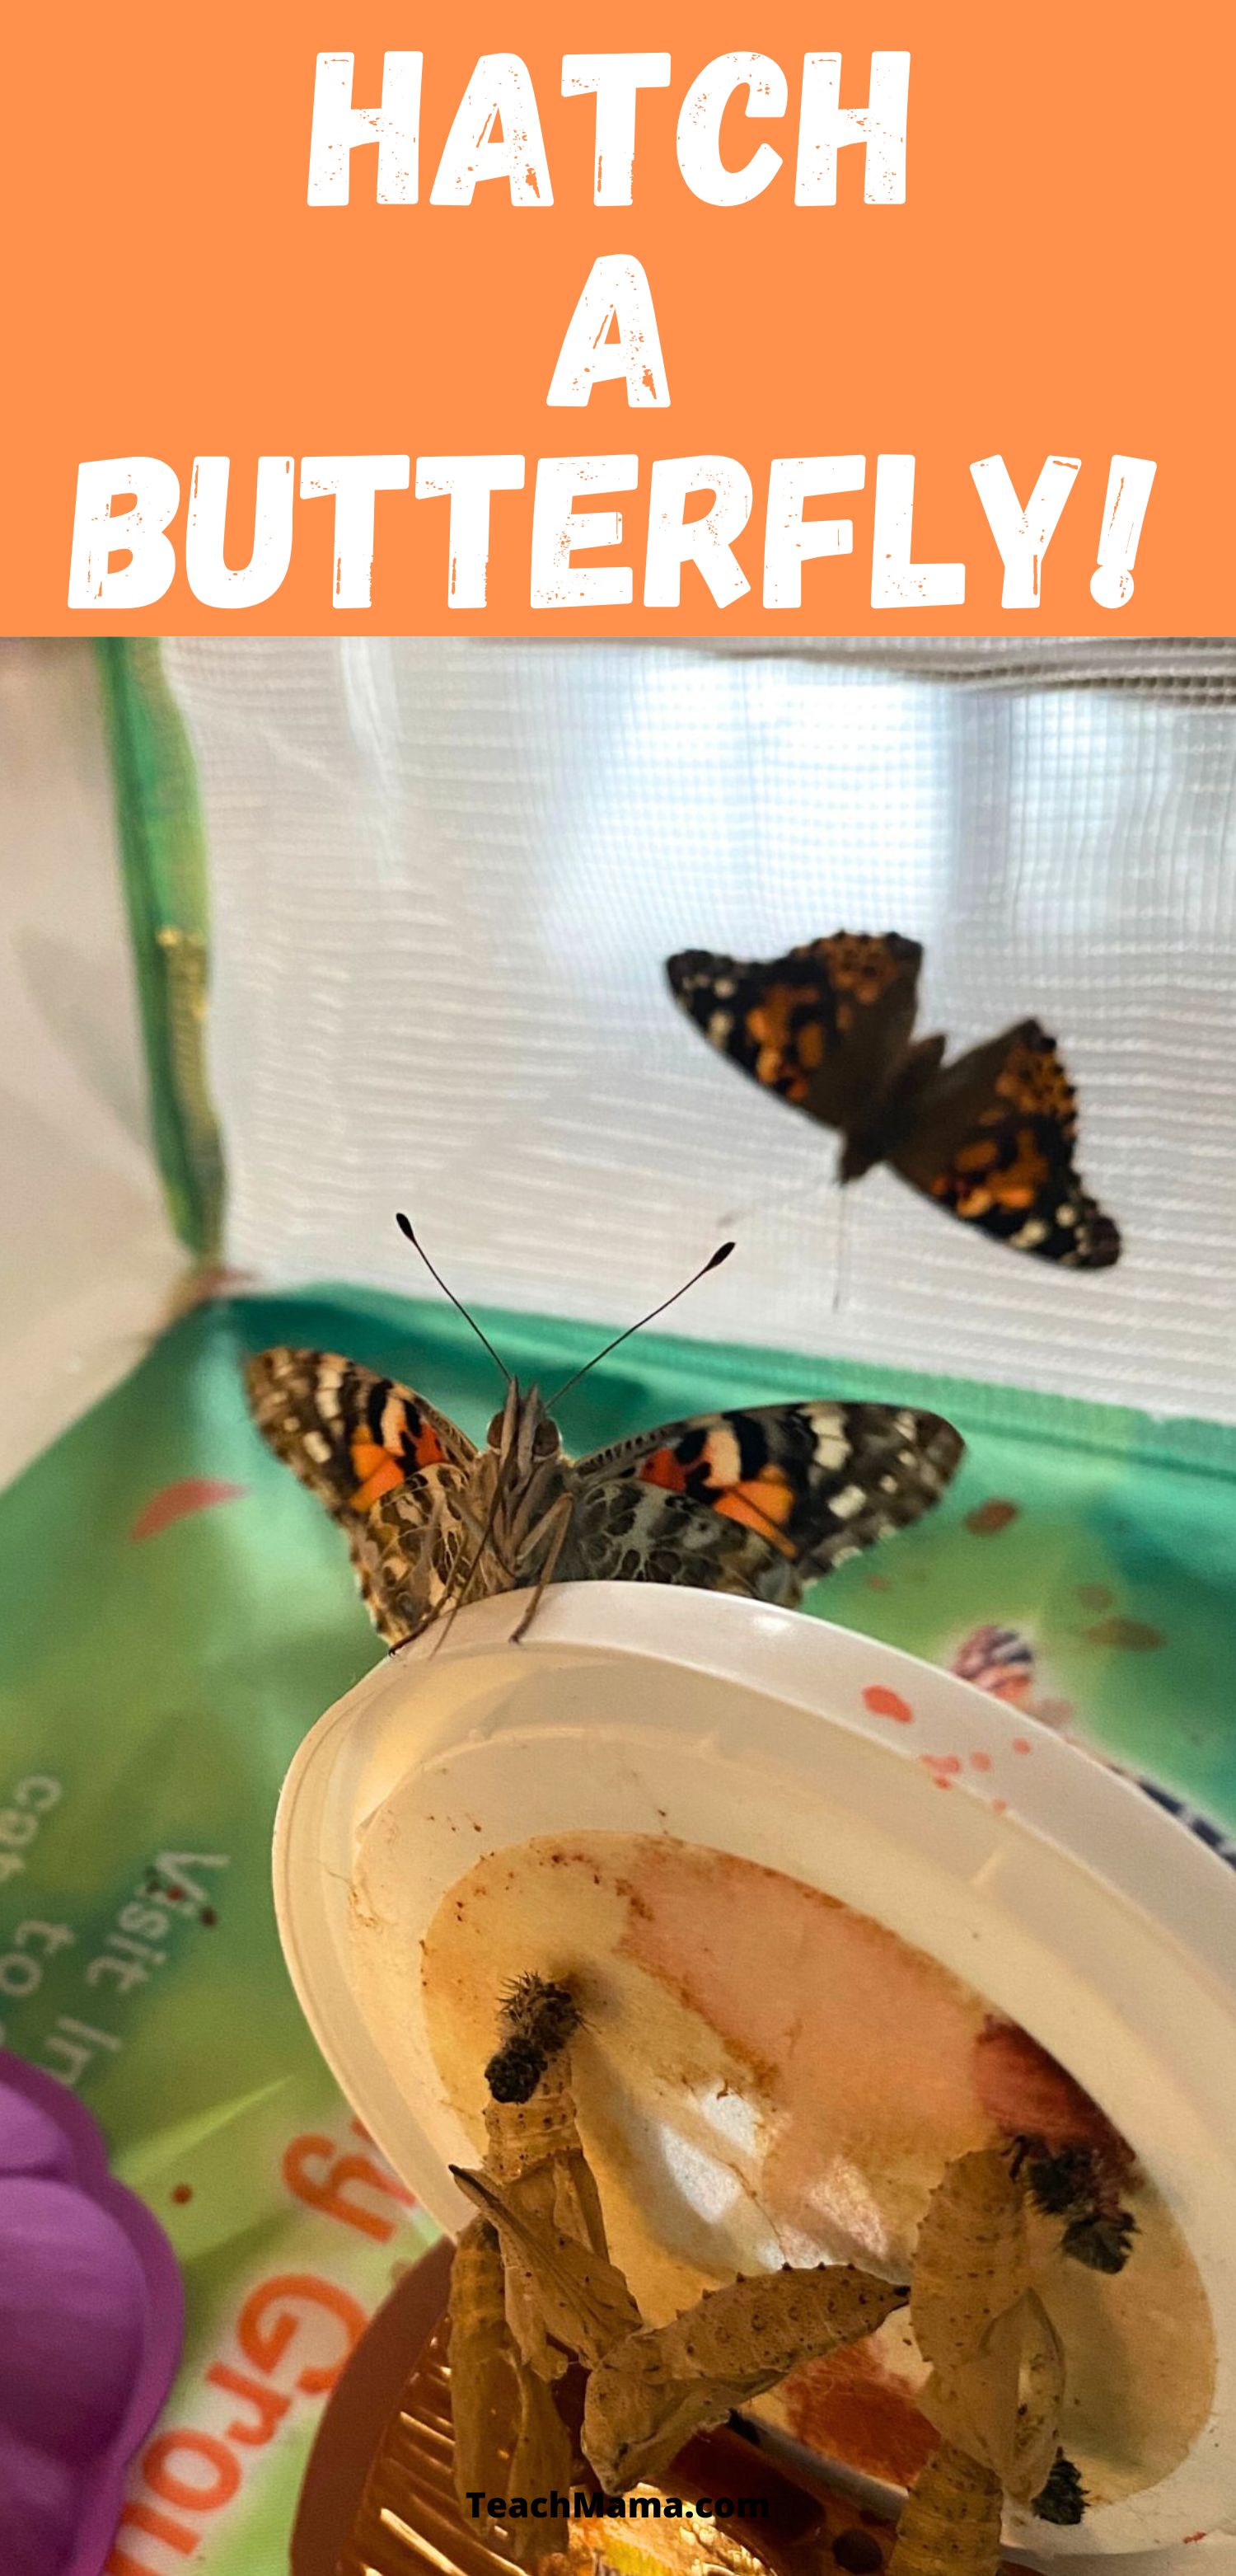
After another seven days, we woke up and checked the habitat. We had three butterflies! It took another day but we eventually had all five brand new painted lady butterflies and fed them with orange slices.
After a couple of more days we released the butterflies into the wild. I hope to see them around this spring!
This project was inexpensive STEM fun from the moment we opened the box. I wish you and your kiddos as much fun as we had!
More Great STEM Content
- How to Make the Most of a Day Trip with Your Child
- Fun and Tasty Moon Activities for Kids
- Color Puzzles – Fun Math and Logic for Kids
- Raising Kids Who Love Science
PIN THIS FOR LATER


This post made me smile! Last year these guys were all over a local park and my kiddos still talk about the day they went to “caterpillar park”! Now I can be all cool and say, “Oh look, it’s the Eastern Tent Caterpillar”!
Great learning opportunity! We call these guys bag worms, and they are everywhere here too. (Ohio) My daughter has been playing with them, picking them up and placing them in our flowers (she must remember me telling her that earth worms are good for plants?)
Have a great weekend!
Saying hi from Sits! My students have been collecting those caterpillars on the playground for weeks! The preschool teacher put one in one of those bug catchers and it has started making its cacoon in it! It’s so neat. Everyday is a new learning Experience! Your blog is really cute.